
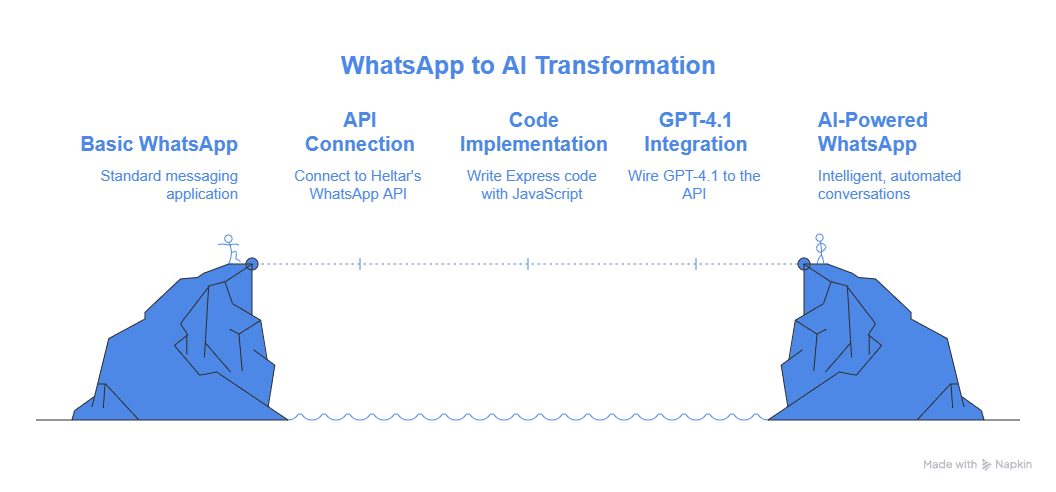
Turn WhatsApp into a button‑driven AI in less time than a coffee run. This post walks you through wiring GPT‑4.1 to Heltar’s WhatsApp API using just JavaScript and ~30 lines of Express code. No bloated frameworks, no endless setup—just a solid API, a few lines of code, and a working feature by the time your coffee cools.
This guide will walk you through building a fully functional chatbot that:
- Gets messages from WhatsApp via Heltar
- Uses GPT-4.1 to decide what button to show next
- Sends a reply straight to the user
It’s fast, clean, and surprisingly powerful. Let’s get into it.
What You’ll Need?
Here’s the quick stack:
Tool | Why it’s here |
Node.js ≥ 18 | ESM support out of the box |
openai v1.x | Access to GPT‑4.1 |
Express | Lightweight HTTP server |
Heltar API | Fast and simple WhatsApp gateway |
Ngrok (optional) | Local dev without firewall headaches |
If you don't have an account on Heltar you can set up an account for free by following this tutorial:
1. Package Installation & Setup
Install everything in one go:
npm i openai express axios dotenv
Set up your .env file:
OPENAI_API_KEY=sk-...
HELTAR_TOKEN=ht_...
2. Tell GPT‑4.1 What a “Button” Means
To keep replies predictable, we’ll use structured outputs (OpenAI function calling). Here’s a simple schema GPT‑4.1 will follow:
const quickReply = {
  name: 'quick_reply',
  description: 'Return exactly one of the provided buttons',
  parameters: {
    type: 'object',
    properties: {
      choice: { type: 'string', enum: ['Approve', 'Reject'] }
    },
    required: ['choice']
  }
};
This ensures GPT doesn’t hallucinate—it sticks to our defined buttons.
3. The 30‑Line Express Server
Here’s the core of your bot:
// index.js
import express from 'express';
import axios from 'axios';
import 'dotenv/config';
import OpenAI from 'openai';
const openai = new OpenAI();
const app = express();
app.use(express.json());
const HISTORY = [];
app.post('/whatsapp', async (req, res) => {
  const { text: userMsg, chat_id } = req.body;
  HISTORY.push({ role: 'user', content: userMsg });
  const chat = await openai.chat.completions.create({
    model: 'gpt-4.1-chat-bison',
    messages: HISTORY,
    functions: [quickReply],
    temperature: 0.3
  });
  const reply = chat.choices[0].message;
  let payload;
  if (reply.function_call) {
    const labels = quickReply.parameters.properties.choice.enum;
    payload = {
      chat_id,
      text: 'Pick one:',
      buttons: labels.map(l => ({ type: 'reply', label: l, payload: l }))
    };
  } else {
    payload = { chat_id, text: reply.content };
  }
  HISTORY.push({ role: reply.role, ...reply });
  await axios.post('https://api.heltar.io/v1/messages', payload, {
    headers: { Authorization: `Bearer ${process.env.HELTAR_TOKEN}` }
  });
  res.send('ok');
});
app.listen(3000, () => console.log('Server running on port 3000'));
This is your bot’s brain and voice, all in one file.
4. Test It Out
Start the server:
node index.js
Then expose it with Ngrok:
ngrok http 3000
Point your Heltar webhook to https://<your-ngrok-id>.ngrok.io/whatsapp, message your sandbox number, and you should see buttons pop up immediately.
Why This Works So Well?
Structured outputs (function calling) solve a ton of problems:
Reliable: GPT sticks to the schema you give it—no surprises.
Clean: No need to parse text or use fragile regex.
Flexible: Easy to chain into multi-step flows or menus.
Next Steps You Can Build Right Now
Add more button values to build nested menus.
Include image URLs—WhatsApp previews them automatically.
Got Stuck?
Ping us anytime—our engineers at Heltar love debugging and will get you unblocked quickly.
You’re Done!
In under 15 minutes, you’ve wired GPT‑4.1 into WhatsApp using Heltar and built a working chatbot that replies with dynamic buttons—all in one file.
Clone it. Tweak it. Make it yours.
For more smart WhatsApp Solutions, check out heltar.com/blogs.